
It wasn’t long ago that we took the time to discuss what format is best while you’re sharing images, whether via email or online. The idea was that images with the smallest file sizes were best, as they could be shared and downloaded more rapidly—without a tradeoff in terms of quality. Let’s discuss how this can be accomplished in Photoshop.
Resizing and Optimizing an Image in Adobe Photoshop
For a long time now, Photoshop has been the de facto option people turn to when they want to work with an image. Having said that, plenty other applications exist that are capable of what we will discuss today.
Rest assured, if your preferred image editing program is at all like Photoshop, this blog will likely give you a good enough idea of the process.
Let’s assume that there’s a photo of a florist’s boutique that we want to put up on a website. When loaded into Photoshop, this image might look something like this:
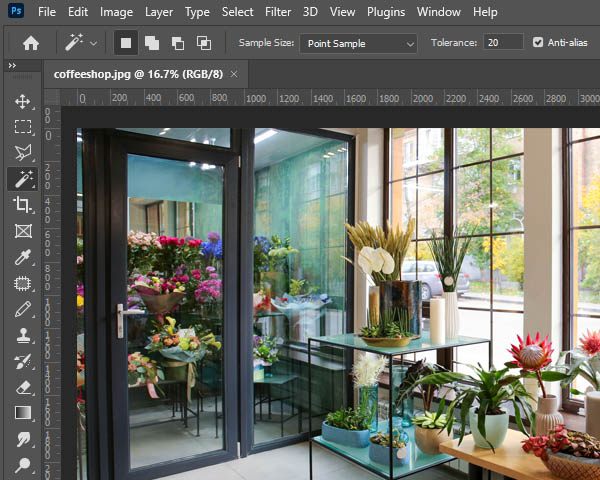
You may have noticed the small percentage—16.7 percent—indicated next to the file name.
This number indicates that the image has been zoomed out, to the point that only 16.7 percent of its pixels are displayed. This is different from the pixels simply being offscreen. Rather, you are being informed that you simply aren’t looking at the whole picture.
Zooming in and out of Photoshop is a simple task that can be done in a few different ways. The simplest way is to use a few keyboard shortcuts: hold CTRL + Spacebar and left-click to Zoom in, then holding CTRL + Alt + Spacebar as you left-click to Zoom out.
For instance, here’s the same image pictured above zoomed in to 100%.

This allows us to view the image at its actual size, only seeing a small portion of it.
What Does This View Reveal to Us?
Well, for one thing, this is a big image.
Remember, zooming in and out doesn’t change the actual size of the image—just the percentage of its pixels that are displayed on the monitor. As it turns out, this image scales beyond the borders of the monitor.
This is by no means a bad thing—it just shows us that the image is high in quality, which means it has lots of potential. If printed, this image would almost certainly come out looking crisp. However, if included on a website as is, the image would be too large to properly display on a user’s screen—and as a result, it is bigger than it needs to be.
This phenomenon isn’t uncommon amongst stock images or those captured on a digital camera or smartphone nowadays.
This seems like a good place to pause and establish one thing: images should only ever be shrunk down. Assuming it’s possible at all, blowing up a small image will need to be carried out by a graphic designer’s expert hand. Otherwise, there’s a good chance the image’s quality will suffer.
You should also always save a copy in the original size, as we mentioned in the other blog.
Step One – Figuring Out the Size You Need
Again, without experience in graphic design, this can be a challenging step—and will also depend on where it will be featured on your website. Some estimation will likely be required, with adjustments made throughout.
If you’re using Firefox as your web browser, there’s also a handy shortcut you can use if you’re just trying to replace an image already on your website.
- In Firefox, navigate to the page your new image is going to go.
- Right-click the image to be replaced and select View Image Info.
- A window displaying the image will pop up, giving you additional information about it.
- Finding the Dimensions will give you the width and height of the image in pixels.
Using these values as a reference for your new image will make the process much simpler.
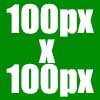
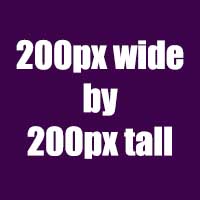
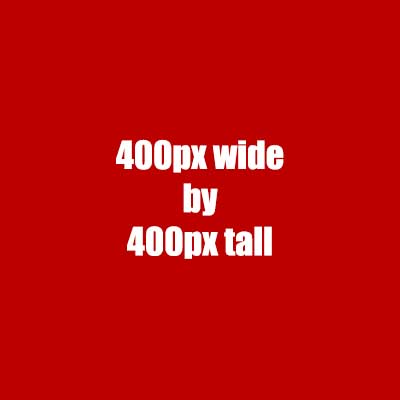
Eyeballing it can also be effective, using these sizes as reference:
- 3840px is the width of a 4k Ultra HD monitor or television screen.
- 1920px is the width of a standard high-definition monitor or television screen.
- 1080px is the width of most Instagram images.
- 820px is the width of a Facebook Cover Image on a desktop or most laptops.
- 272px is the width of Google’s logo in the center of Google.com on most desktops and laptops.
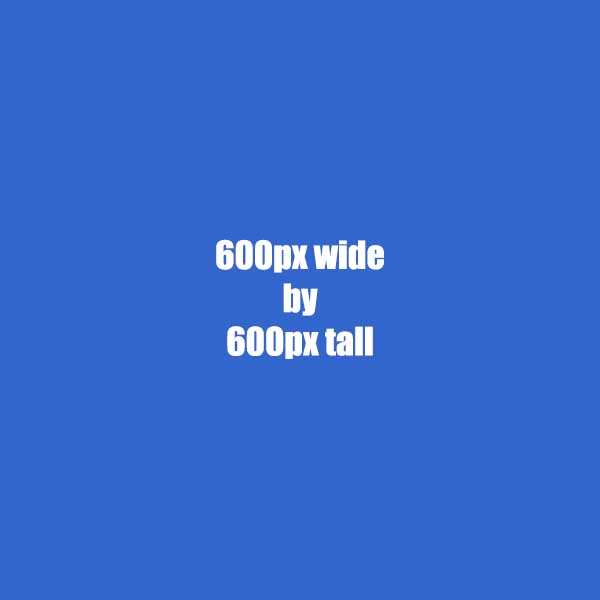
If you happen to be reading this on a desktop or laptop, you’ll also find the following images to be a good way to establish these different sizes. It unfortunately won’t work so well on all smartphones, as the images will likely be scaled to fit. Hopefully, they will prove helpful.
Step Two—Make Sure Your Zoom is at 100%
In Photoshop, your Zoom percentage can be found below your image, in the bottom left corner. All you must do is click the percentage and set it to 100%. Alternatively, you can always use the shortcuts we went over earlier.
This is so we can get a good impression of what size the image will be once the resizing process is done.
Step Three—Resize the Image
Click into the Image Menu and access Image Size, where you should find this window:
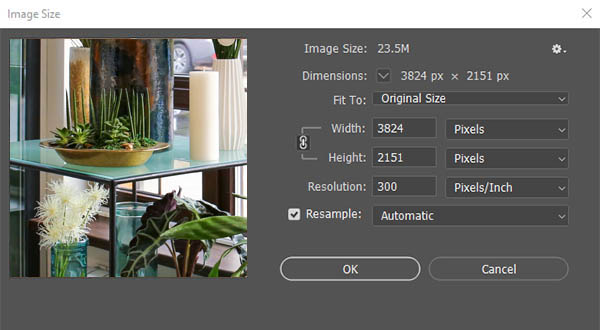
While in this window:
- Set the Width and Height to be displayed in Pixels instead of inches, centimeters, or the like.
- Make sure the brackets that point to Width and Height next to the link icon are activated. Clicking on the link icon will toggle this on and off.
- Insert the size you want the image to shrink down to. By changing either the height or the width, the other should change proportionally.
- We generally recommend leaving Resample checked and on Automatic for the most success.
- Click Okay to complete your image’s resizing.
Step Four—Saving Your Edited Images
Finally, you’re ready to save your image. If you remember from the last blog, where we discussed the various image formats you could use, you’ll know that a JPEG is the best option while working on a photograph.
In Photoshop, navigate to File > Export > Export As. At that point, the Export As window should appear:
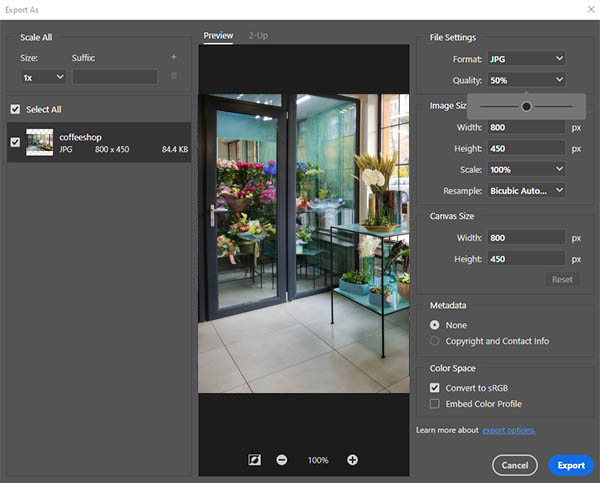
You’ll see a preview of your image, where you can use the + and – icons to adjust your image to 100 percent. Under File Settings on the right, you should check that Format is set to JPG.
You can adjust the quality of the image with the slider to the left. Keep an eye on the preview as you maneuver the slider. Stop once you see a degradation in quality, stop, and move the slider a notch to the right.
While every image is going to be different, the quality value will likely lie somewhere between 40-to-70 percent without impacting how it looks.
This is the crucial part, as the quality slider is what determines the size of the image file. A balance is required to optimize download speeds. A too low image will look over-compressed, but not low enough will slow down your download speeds.
Keep an eye on the places where high-contrast colors touch each other for the clearest signs of degradation, like where light and dark meet. Lowering the quality too much will result in weird artifacting and shapes showing up around the edges.
Once completed, click on Export. At this point, you’ll be asked to give your image a file name. Again, don’t overwrite the original version!
Hopefully, this guide will prove helpful. For more best practices, keep checking our blog or reach out to us at 800.618.9844!

